How to Tiling Around Sockets - The Dos and Don’Ts

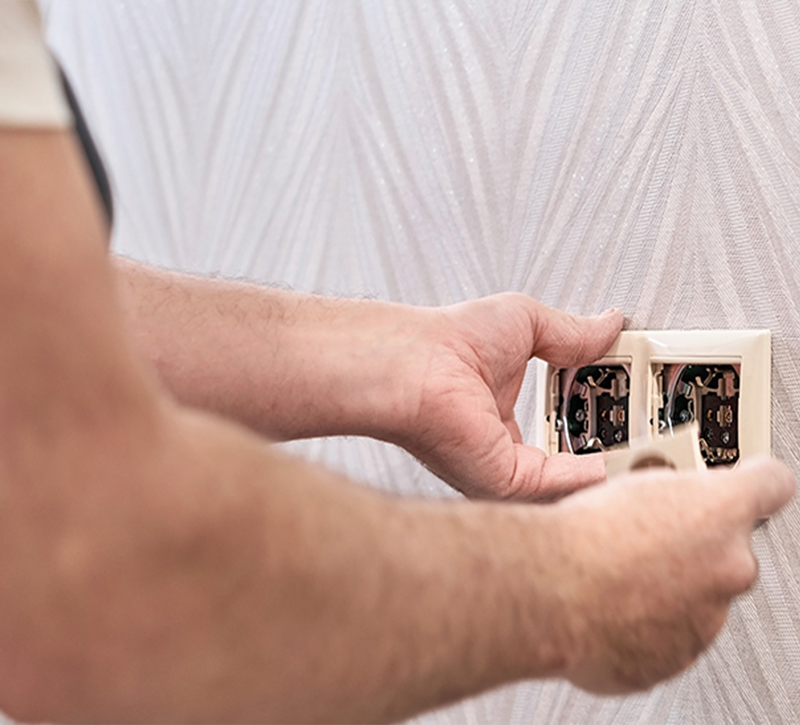
How to tile around sockets! When it comes to tiling, there always seems to be one area that gives people trouble and that's tiling around sockets. If you don't know how to do it, it can seem like a bit of a daunting task, but fear not! We're here to help with a step-by-step guide on how to tile around sockets. Sockets can be a tricky feature to work around when tiling, but with a little know-how, you can get a professional finish that looks great and is easy to maintain. In this blog post, we'll run through some dos and don'ts for tiling around sockets, so you can avoid some of the most common mistakes people make.
- DO clean the area around the socket thoroughly before you start tiling. Any dust or greasy. fingerprints will show through once the tiles are in place, so it's important to get a nice, clean surface to work with. Use a mild detergent and a soft cloth to wipe down the area gripfill drying time, taking care not to damage the paintwork or wallpaper.
- DON'T tile right up to the socket itself. You'll need to leave a small gap around the perimeter of the socket so that you can easily access it if you need to change a light bulb or switch a plug off at the mains. We recommend leaving a gap of about 1/4 inch (6 mm). If you're using small tiles (1 inch/2.5 cm or less), you may need to leave an even larger gap.
- DO use tile adhesive spacers to ensure that your tiles are evenly spaced and level. This will give your finished surface a much neater appearance.
- DON'T try to cut tiles to fit around the socket. It's very difficult to get a good finish this way, and it's much simpler (and quicker) to just use off-cuts from elsewhere in your project. Keep a selection of different sizes handy so that you can choose the one that fits best.
How to tile around sockets
- Start by measuring the width of the socket. You'll want to add 1/4 inch on either side for expansion.
- Cut your tile accordingly. Most tiles can be easily cut with a scoring tool and a straight edge.
- Spread your adhesive onto the wall, making sure to avoid the socket itself.
- Place your first tile in the bottom corner of the space, and then work your way up. Once you reach the socket, use a level to make sure your tile is even with the rest of the row before moving on.
- Cut your next tile to fit around the socket, and then place it into the adhesive. Use spacers as needed to maintain consistent gaps between each tile.
- Continue until all of your tiles are in place, then let the adhesive dry for at least 24 hours before grouting or caulking around the edges. And that's it! You've successfully tiled around a socket.

 Rated Excellent


