 Rated Excellent
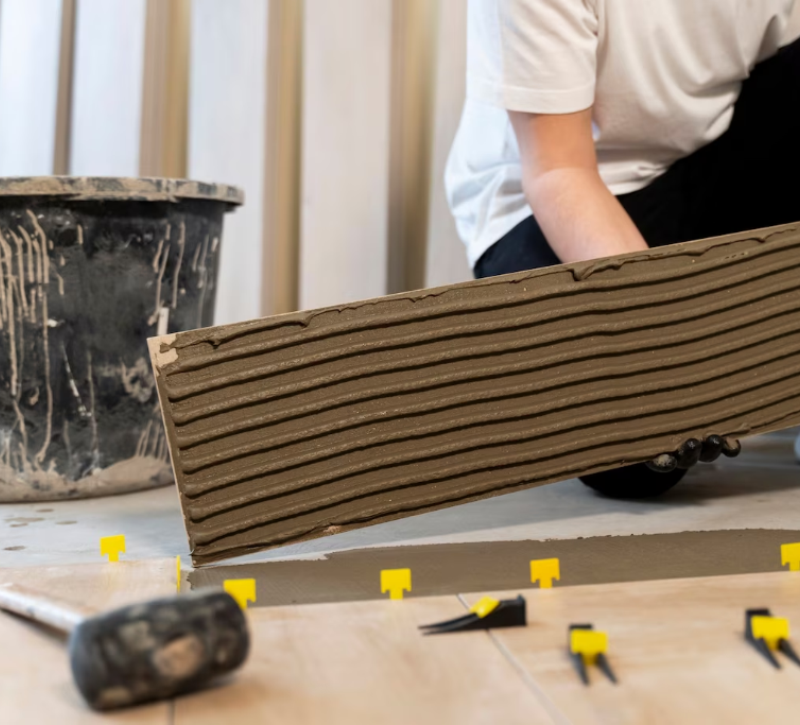
The Basics of Tile Installation

When it comes to installing tile, there are a lot of factors to consider. From the type of tile and grout you choose to the steps you take in preparation for installation, it’s important to understand exactly what to expect when getting your new tiles installed. Read on for a crash course in tile installer and how to ensure that your project goes off without a hitch.
Choose the Right Tiles
When it comes to tile installation, one of the most important decisions you’ll need to make is which type of tile you want. There are many different types of tiles available, from ceramic and porcelain tiles to travertine and marble. Each type of tile has its own unique properties and should be chosen based on the look you want as well as its practicality in your space. It’s also important to think about how much wear and tear your tiles will be exposed to if they will be frequently used, you may want something more durable like ceramic or porcelain, while if they will be used less frequently, something like travertine or marble may work better.
Prepare Your Space
Once you have chosen the right tiles for your project, it’s time to prepare your space for installation. This includes removing any existing flooring material (e.g., carpet or vinyl), cleaning the area thoroughly, checking for any irregularities in the subfloor (e.g., warping), making sure that any electrics or plumbing fixtures are properly secured and insulated (if necessary) and laying down an appropriate substrate for your tile installation (usually cement board). All these steps are essential for ensuring that your new tiles are properly installed and will last for many years.
Installing Your Tiles
When it comes time to actually install your tiles, there are several steps involved. First, you need to lay out the tiles so that they fit together perfectly with no gaps between them this can involve cutting some pieces where necessary using a wet saw or jigsaw blade. Next, apply adhesive mortar with a trowel onto each section before pressing each piece into place use spacers if needed between each tile so that they remain even during drying time. Finally, when all pieces have been placed correctly, spread the grout across all joints using a rubber float before wiping away any excess with a damp sponge or cloth allow about 24 hours for everything to dry completely before walking on it again.