 Rated Excellent
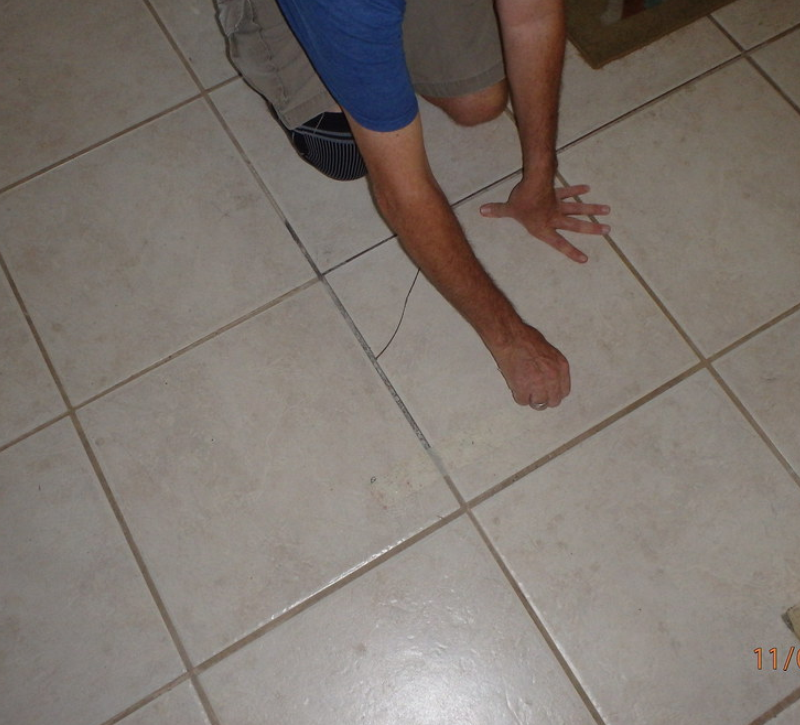
How Are Tile Crack Repair At Home

Have you noticed cracks in your tile flooring or walls? While it may seem like a daunting task to tackle, repairing cracked tiles is not too difficult. In this blog post, we'll cover the basics of how to quickly and easily repair cracked floor tile.
Prepare for Repair
Before getting started, make sure that you have all the necessary supplies on hand. You will need a putty knife or similar tool, tile adhesive, tile grout, a sponge and bucket, cloth or brush for cleaning up excess material, and safety glasses and gloves for protection. Make sure to read the instructions on the tile adhesive packaging before use as well as any safety precautions. If you use epoxy-based adhesive, you may need to wear a respirator mask to avoid breathing in dangerous fumes.
Clean & Dry Surface
Once you have all of your supplies ready, it's time to get started! Begin by cleaning the affected area with warm water and soap. Make sure you dry it thoroughly as moisture prevents the adhesive from properly bonding with the tile surface.
Repairing Cracked Tiles
Once you have identified the source of the problem, it's time to move on to the actual repair process. The most important part of this process is preparing the area before beginning work. This means that any dirt or debris should be removed from the affected area so that it is clean and dry before applying any adhesive or grout. Once this is complete, use an epoxy-based adhesive specifically designed for tile repairs and fill in any cracked tiles between tiles with a putty knife. Make sure that all gaps are filled so that no air bubbles remain and allow the adhesive to dry completely before continuing with your repair project.
Apply Adhesive & Grout
Using your putty knife or other tools, apply a thin layer of adhesive over the crack in the tile surface. Spread it evenly with your tool until it fills in the crack completely and is flush with the surrounding tiles. Once this is done, apply grout over the entire affected area until it is filled in completely. Allow this to set for at least 24 hours before proceeding further so that it has time to dry completely before being exposed to moisture again.