 Rated Excellent
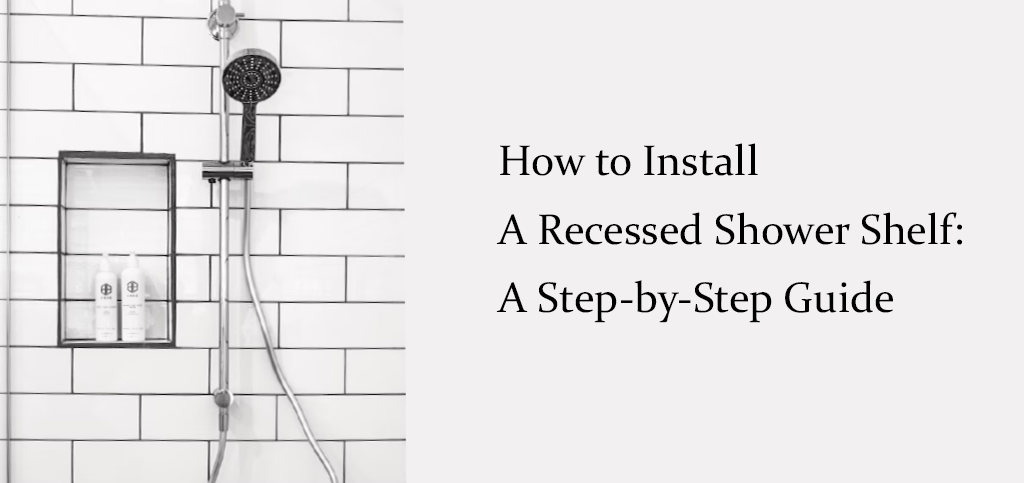
How to Install a Recessed Shower Shelf: A Step-by-Step Guide
A shower shelf is a great addition to any bathroom, providing you with convenient storage space for your shower essentials. However, a recessed shower shelf takes it up a notch, offering a sleek and modern look that is both functional and stylish. In this blog, we will provide you with a step-by-step guide on how to install a recessed shower shelf.
Step 1: Choose Your Shelf and Location
Before you begin, you need to choose your shelf and its location. Take into consideration the size of your tiles, as the size of the shelf should match the size of your tiles. You should also consider the height of the shelf, as it needs to be easily accessible for your needs.
Step 2: Mark the Area
Once you have chosen your shelf and location, you need to mark the area where you will be cutting the tiles. Use a level and pencil to mark the outline of the shelf, making sure it is level and centred.
Step 3: Cut the Tiles
Using a tile cutter, carefully cut the tiles along the marked lines. Be sure to wear safety glasses and gloves to protect yourself from any sharp edges. Use a tile saw or angle grinder for any curved or angled cuts that may be necessary.
Step 4: Prepare the Space
Remove the tiles from the area where the shelf will be installed. Use a utility knife or grout saw to remove the grout and any adhesive from the area where the shelf will be installed. Make sure the area is clean and smooth.
Step 5: Install the Shelf
Apply a layer of adhesive to the back of the shelf and press it firmly into place. Use tile spacers to ensure the shelf is level with the surrounding tiles. Allow the adhesive to dry completely before removing the spacers.
Step 6: Grout the Area
Once the adhesive is dry, you can grout the area. Mix the grout according to the manufacturer's instructions and use a grout float to apply it to the tiles. Make sure the grout fills all the gaps between the tiles, then wipe away any excess with a damp sponge.
Step 7: Seal the Grout
Once the grout is dry, you should seal it to prevent any water from penetrating the tiles. Apply a grout sealer to the area, following the manufacturer's instructions.
Step 8: Enjoy Your New Shower Shelf
Once the sealer is dry, you can start using your new recessed shower shelf. It will provide you with convenient and stylish storage space for your shower essentials.
Installing a recessed shower shelf can be a simple DIY project that can greatly enhance your bathroom. By following these easy steps, you can have a functional and stylish addition to your shower in no time.